Pimp My PlayStation 2, 2025 edition
- Check to see if it works
- Softmod the console
- The life gets in the way
- August, perfect time to resume
- Sourcing a working DualShock 2
- Sourcing a working DualShock 3
- Finding a Bluetooth adapter that won’t put all this work to shame
- Pairing the controllers to the adapters
- Updating the adapters’ firmware
- One last nitpick on the controllers
- Turning on my PS2 again, and resuming from where I left off
- Building an initial game library
- Topping it all with an HDMI adapter
- Conclusion
Let’s face it, the PlayStation 2 alone is the most influential game console to date, and even if we’re three generations apart from it, Sony and co. still cannot help but put out HD remasters of the games that ran on this platform; it must be because almost nobody is making new interesting games anymore.
So yeah, I’ve got to get my hands on it first and foremost, and then we could probably talk about other very influential consoles later on, when I get the time and money to scout them on the sixty-ninth hand market; okay but, how do I get my hands on it exactly? Turns out I have to shill exactly zero cents because my boyfriend had one, and since he’s more involved with Nintendo stuff than Sony stuff, he just up and gifted it to me. I, uh, didn’t expect this to happen, really, but also because I am not used to receiving gifts at all.
I got this PlayStation 2 slim around last year, give or take a month - in all this time I’ve been inactive on this project because life got in the way, so I’ve only got photos of the last stuff I did; sorry in advance if any of you wanted to see everything.
So, what is the order of operations?
Check to see if it works
While this is a gift and not a trip to the thrift store, it still got shipped over to me because me and boyfriend were living separately at that time, so I had to still check if logistics didn’t break it.
October 7 2024, the package arrives. I plug the PS2 onto a TV old enough to still have RCA inputs, boot it up, and it works! There was a DVD inside it, though, and the PS2 would tell me that the disc is not compatible, so I assumed it has never been tampered with, and I left it at that. I couldn’t check the contents of that DVD though, as I lack a DVD drive for PC.
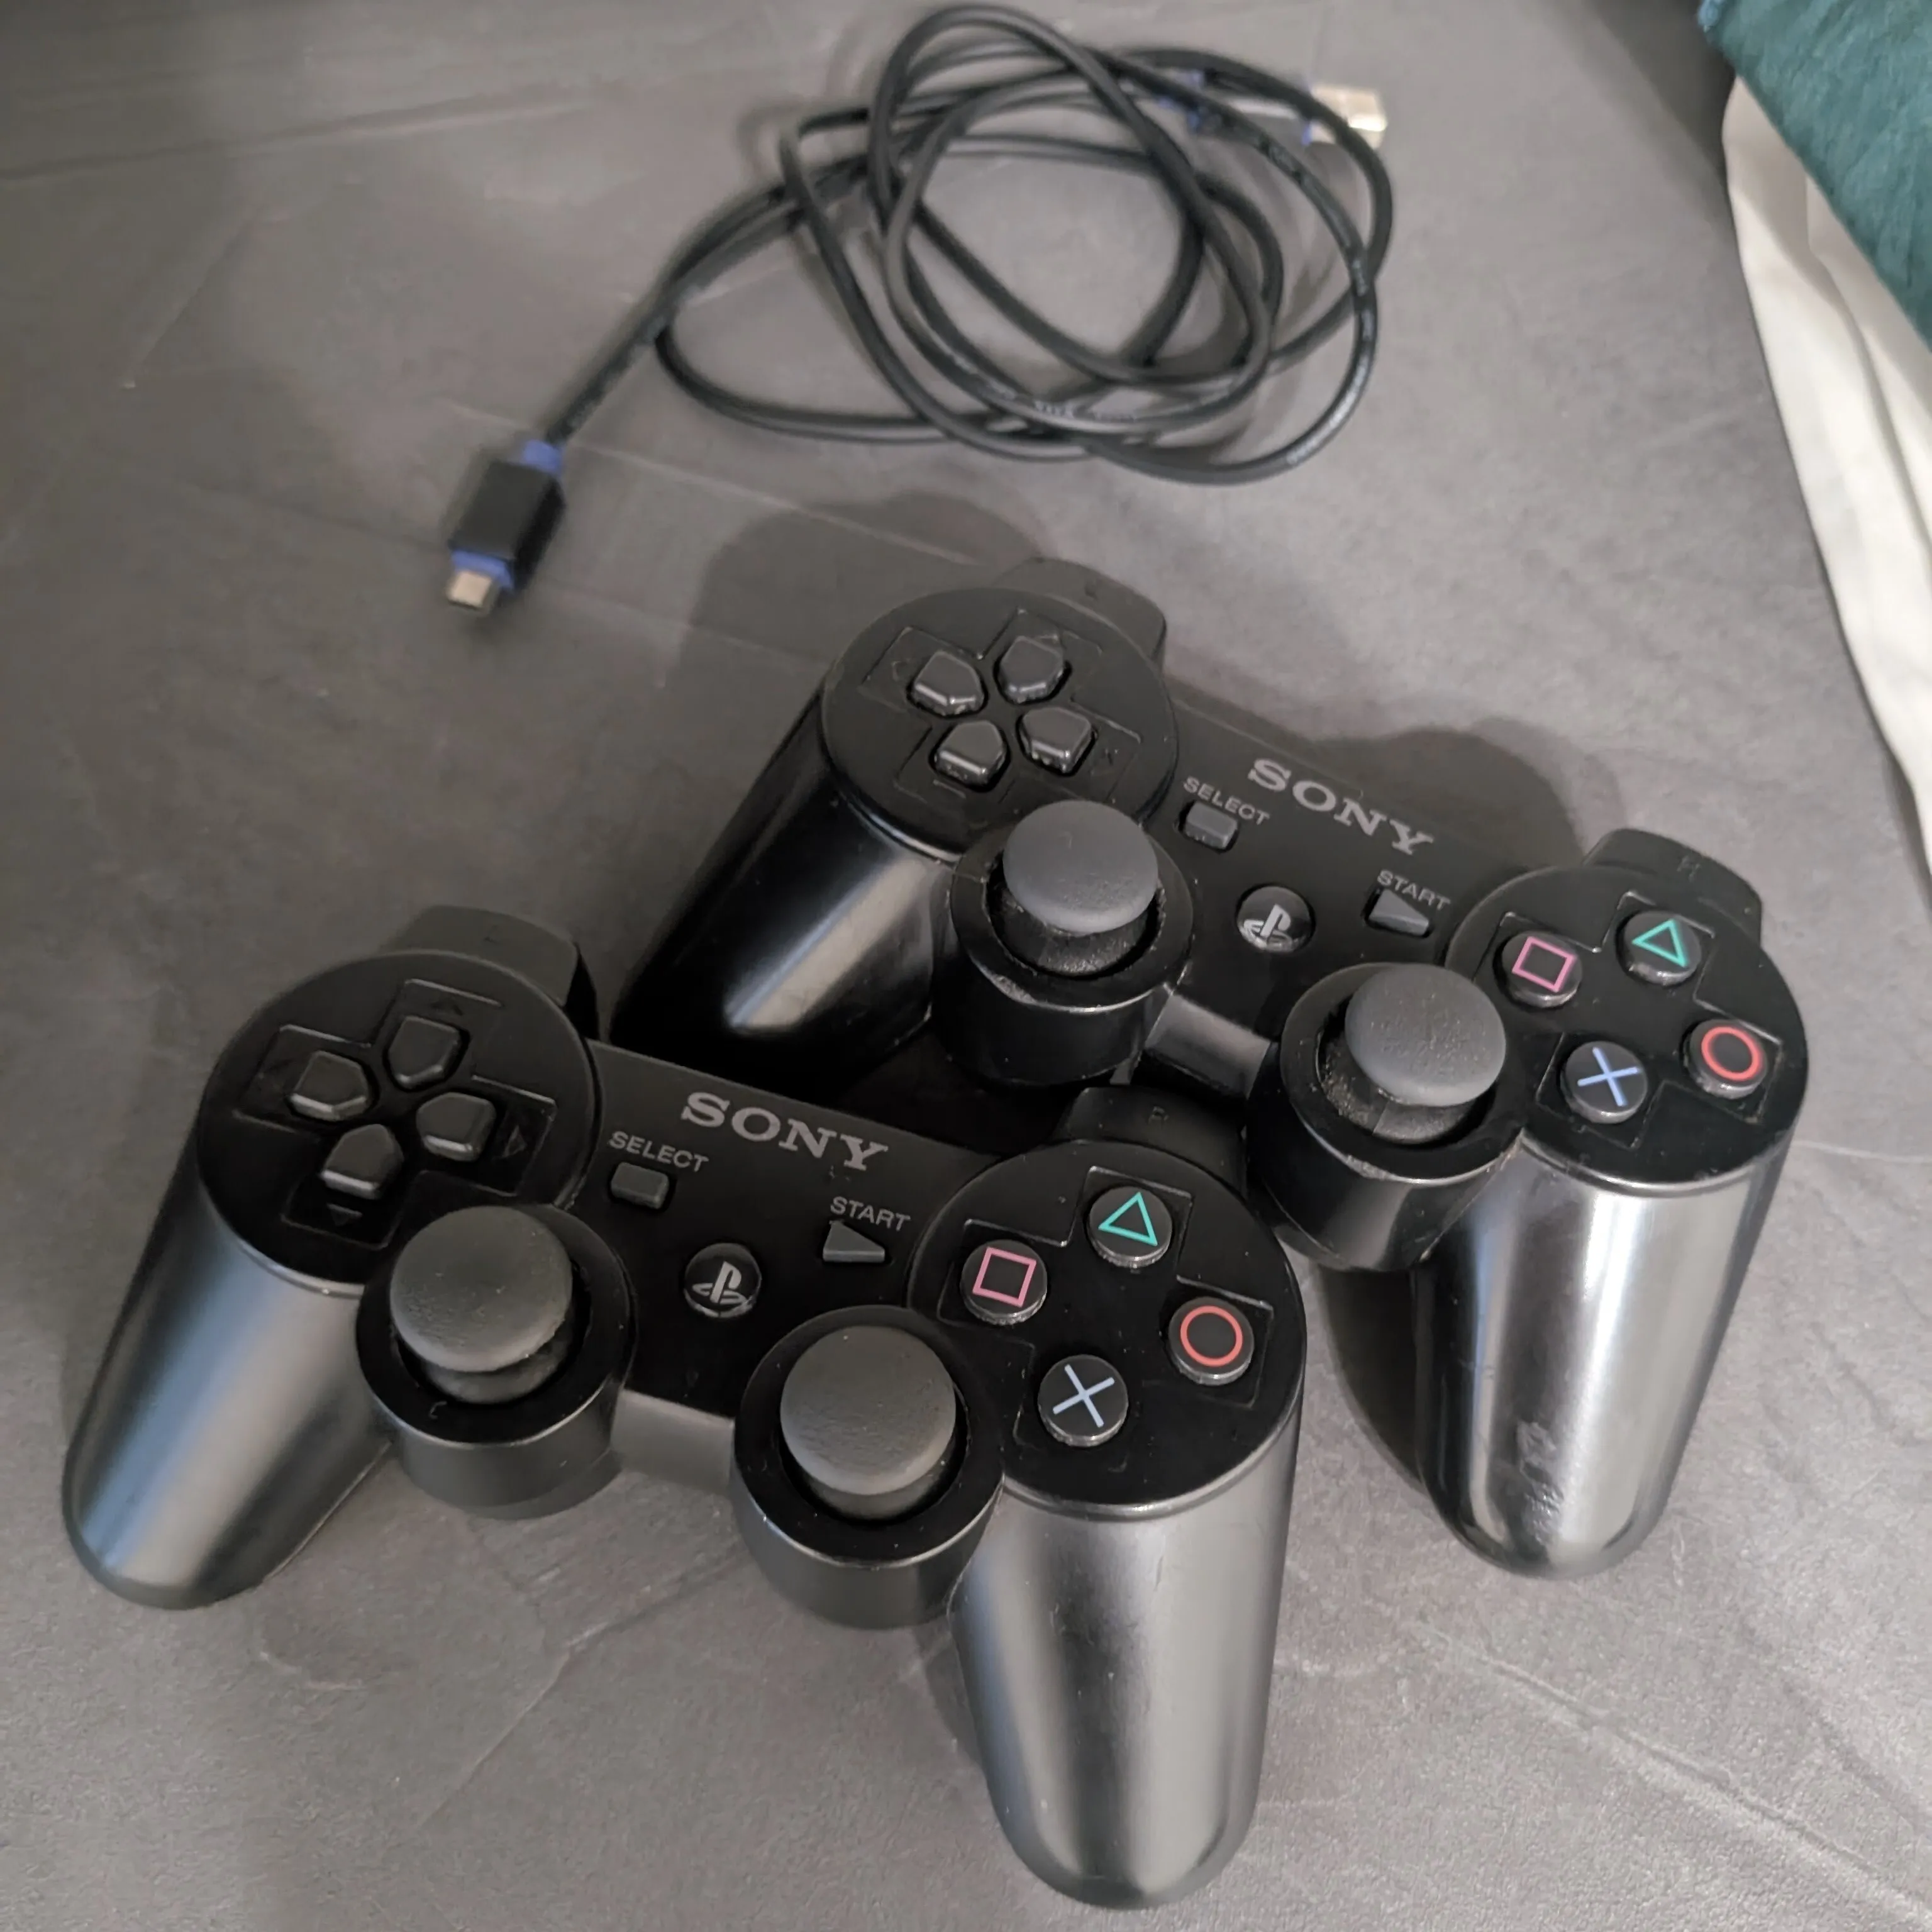
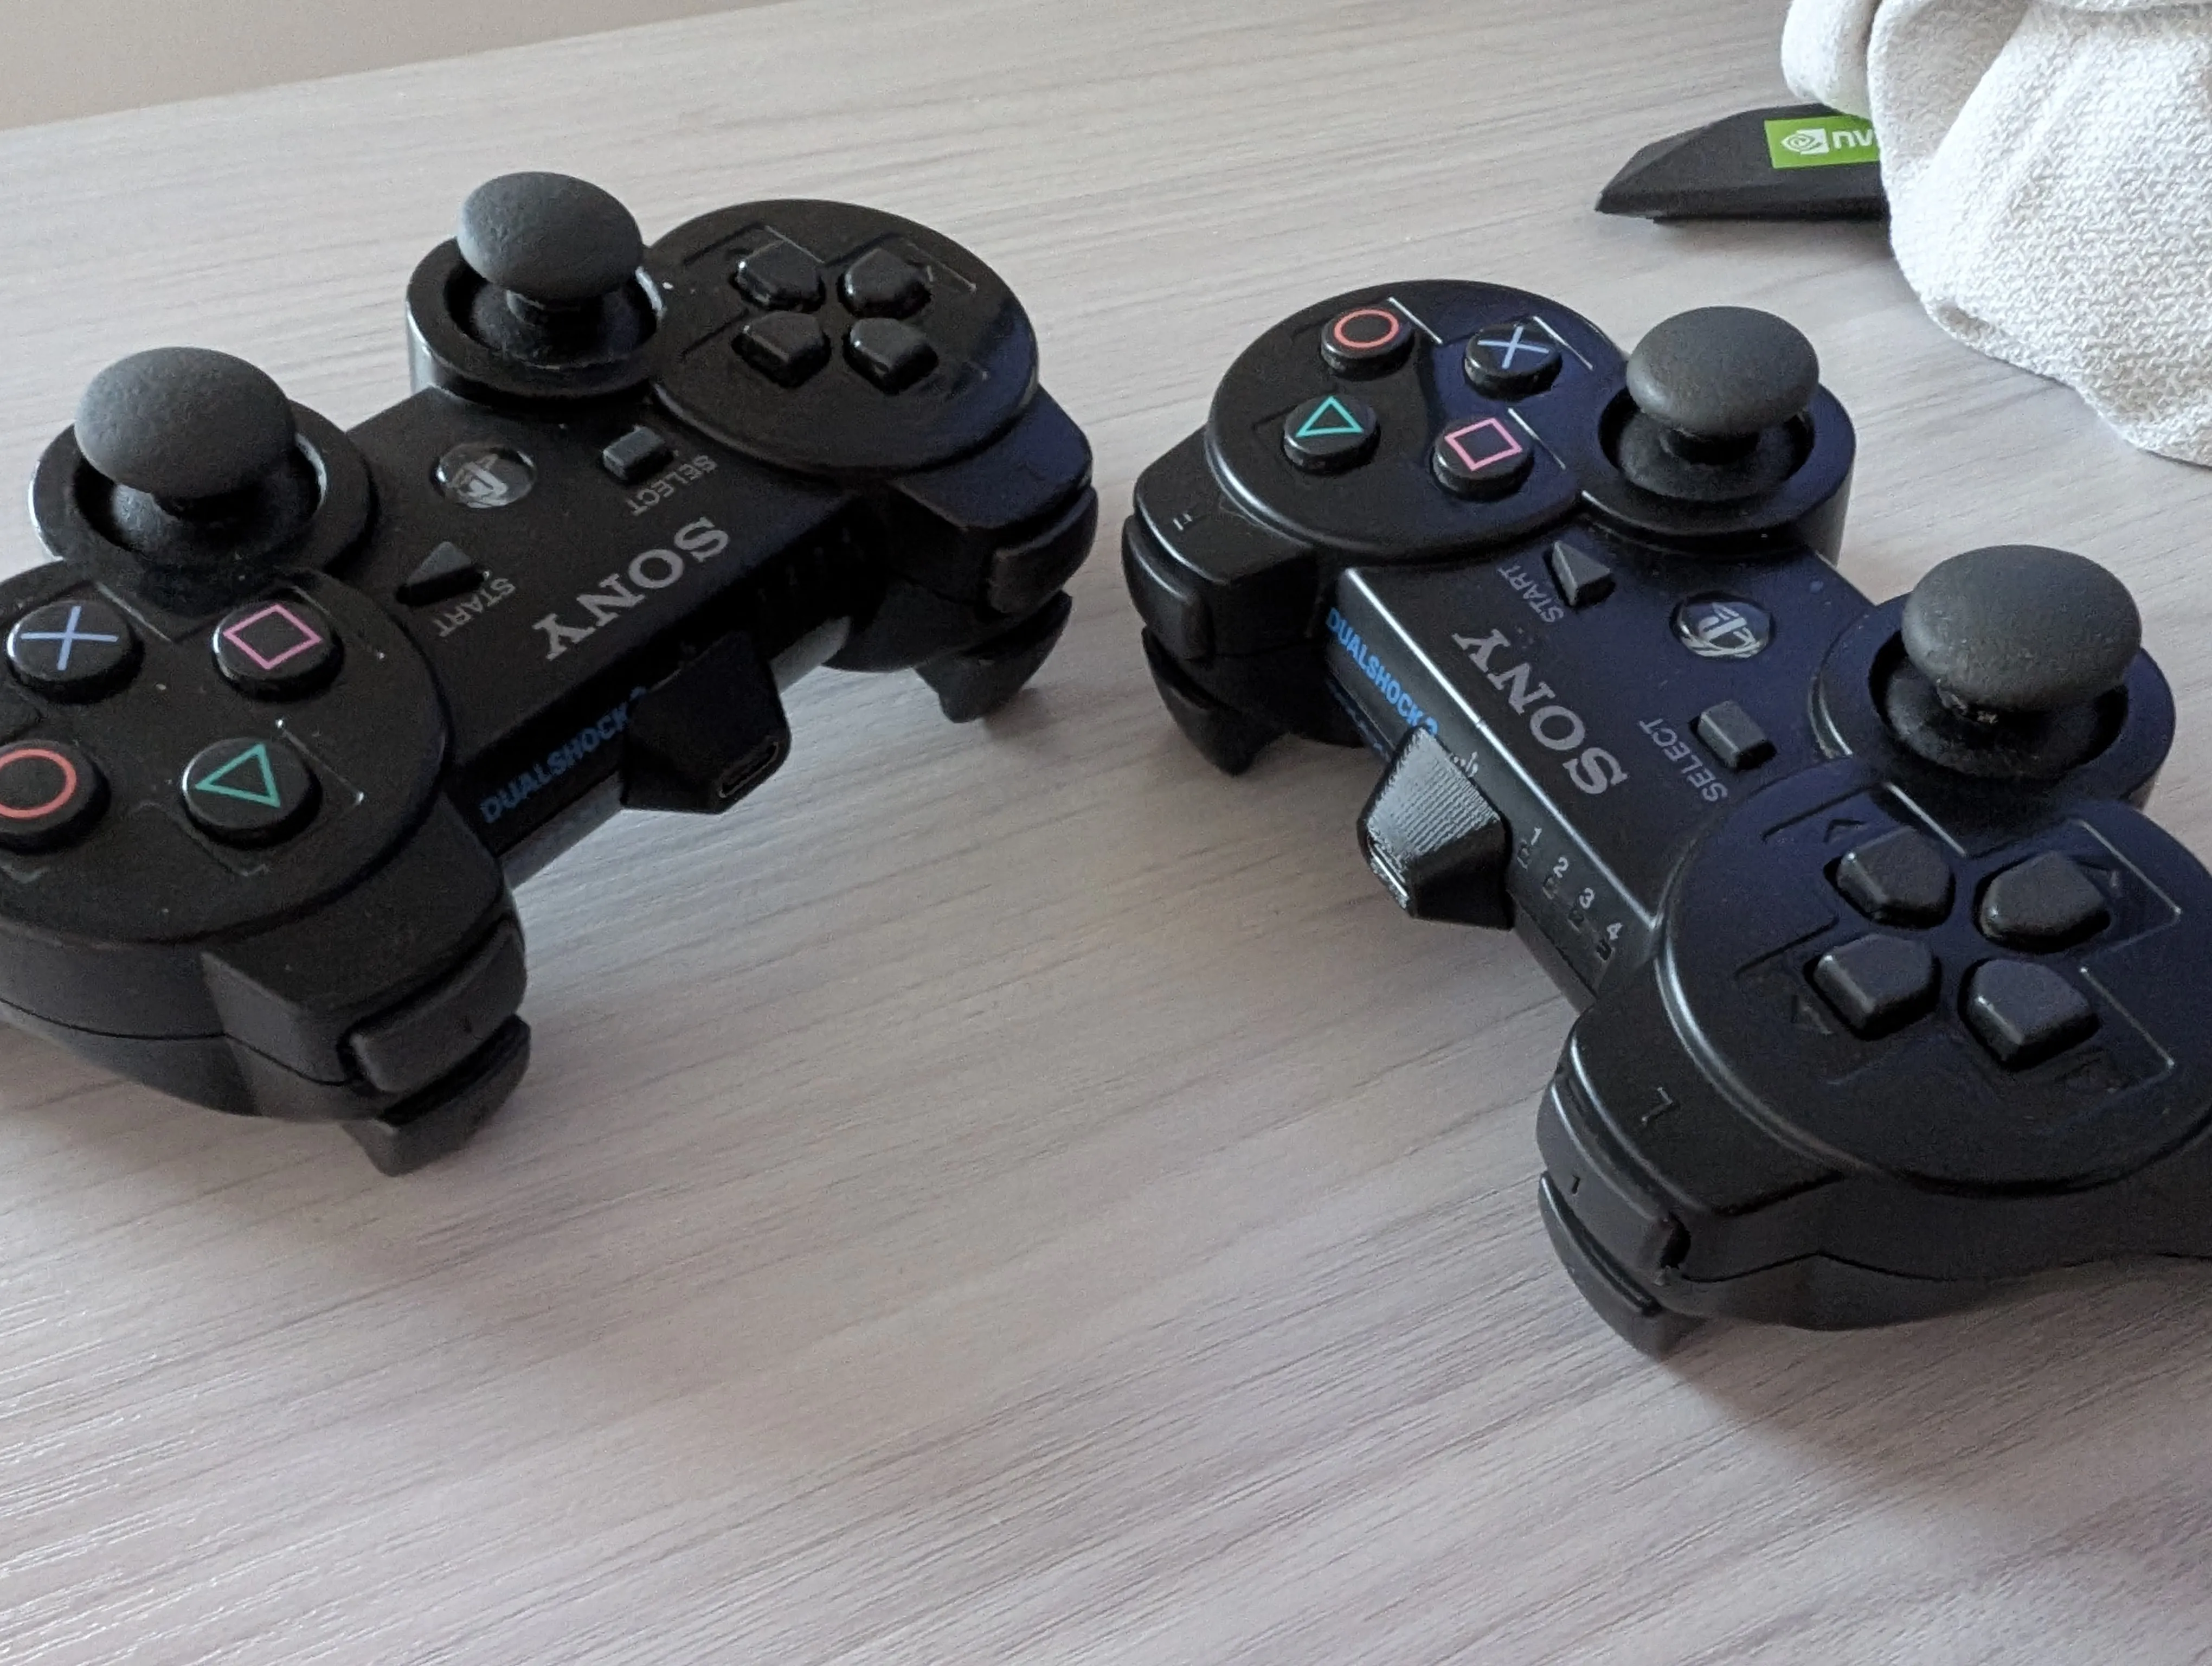
Boyfriend also shipped two controllers, of which one was an original DualShock 2.
The non-original one got beaten up by logistics, so badly in fact that the rear buttons were hanging around inside the shipping box with the chipped plastic, and the PCB inside the controller was not only exposed, but broken at those angles by the impact. I didn’t feel safe plugging that controller, and so I just tossed it aside.
The original DualShock 2 was shipped correctly, and when plugged everything worked except for the right button on the D-Pad, which required too hard of a press to be registered by the console. I felt unsafe and therefore I started researching causes: apparently, DualShock 2 controllers do wear until the flex PCB that has all the button contacts gets delaminated and at that time your only hope to save the controller is to swap the entire flex PCB, a thing that I am not, and will never be, skilled enough to do. So, for now, this will suffice: I will try not to press on the D-Pad too hard.
Softmod the console
I have a friend who also has a PS2, except that his one is special: it has FreeMCBoot on it!
Of course, I contacted him to see if I could use his PS2 to install FMCB on my memory card, which is an original 8MB one.
I don’t even know how long the flash memory on those memory cards holds up, but this PS2 has seen very little use, so the memory cald is almost as pristine as a new old stock by those standards.
We agree to meet, some days later, at his place; I bring the memory card with me, and we begin installing FMCB. I didn’t do my homework properly though (read: didn’t check my PS2’s exact model) so we end up doing a multi-PS2 install just to be safe.
I bring my memory card home, plug it inside the slot, and the PS2 boots into FreeMCBoot. Yay!
At this point, though, I had tons of other stuff to do, I couldn’t realistically continue the journey. This will prove I am an idiot later on, but for now everything dies.
The life gets in the way
The rest of October is me wanting to die for various reasons I cannot really write, but then November arrives and it brings good news. Good news, yes, but not without a sudden fight: my parents’ house got flooded, and the PS2 was there, and I was still living there too, so I had to run for my life to salvage everything and put it way up so it at least won’t get wet. I manage to save the PlayStation 2, my PC, and a couple other stuff, but I miserably failed to save my Raspberry Pi, which somehow survived without me intervening (even if it was literally sunk in a flooded box that I couldn’t move in time) and you already saw it perform the T60 Libreboot flash on the other blog post I wrote earlier this month.
After that, I moved on, and I also (understandably) had to move away from my parents’ house.
December saw me living in a relative’s house with my boyfriend (who, in the meantime, got back here) and then it also saw me attending 38C3 which was fun but I wouldn’t really do it again. January was a big month because we rented a house to live together and so we set out to furnish it; February was hell because I had to attend my duties as a student, plus my mother was back in action again (read: I had to take care of her despite her not taking care of me at all); March was a disaster month because we had plenty of unexpected situations that put our finances at risk; April, May, June, July were better in every way possible but at that time I was recovering from the hell that was my life up until that point and I couldn’t really afford to embark in any projects - I only played videogames on my Steam Deck while trying to chill because of very serious problems with my psychological health.
August, I hosted lena and sela here (again, go read the other blogpost on the T60!) and therefore I decided that it was finally time to embark on the PlayStation 2 journey.
August, perfect time to resume
It’s a perfect time to resume also because I have my birthday in August, so every completed project feels like a birthday present that I am doing to myself - but also it means I won’t feel horrible about splurging some money onto stuff I love and care about, instead of only directing it to my absolute needs.
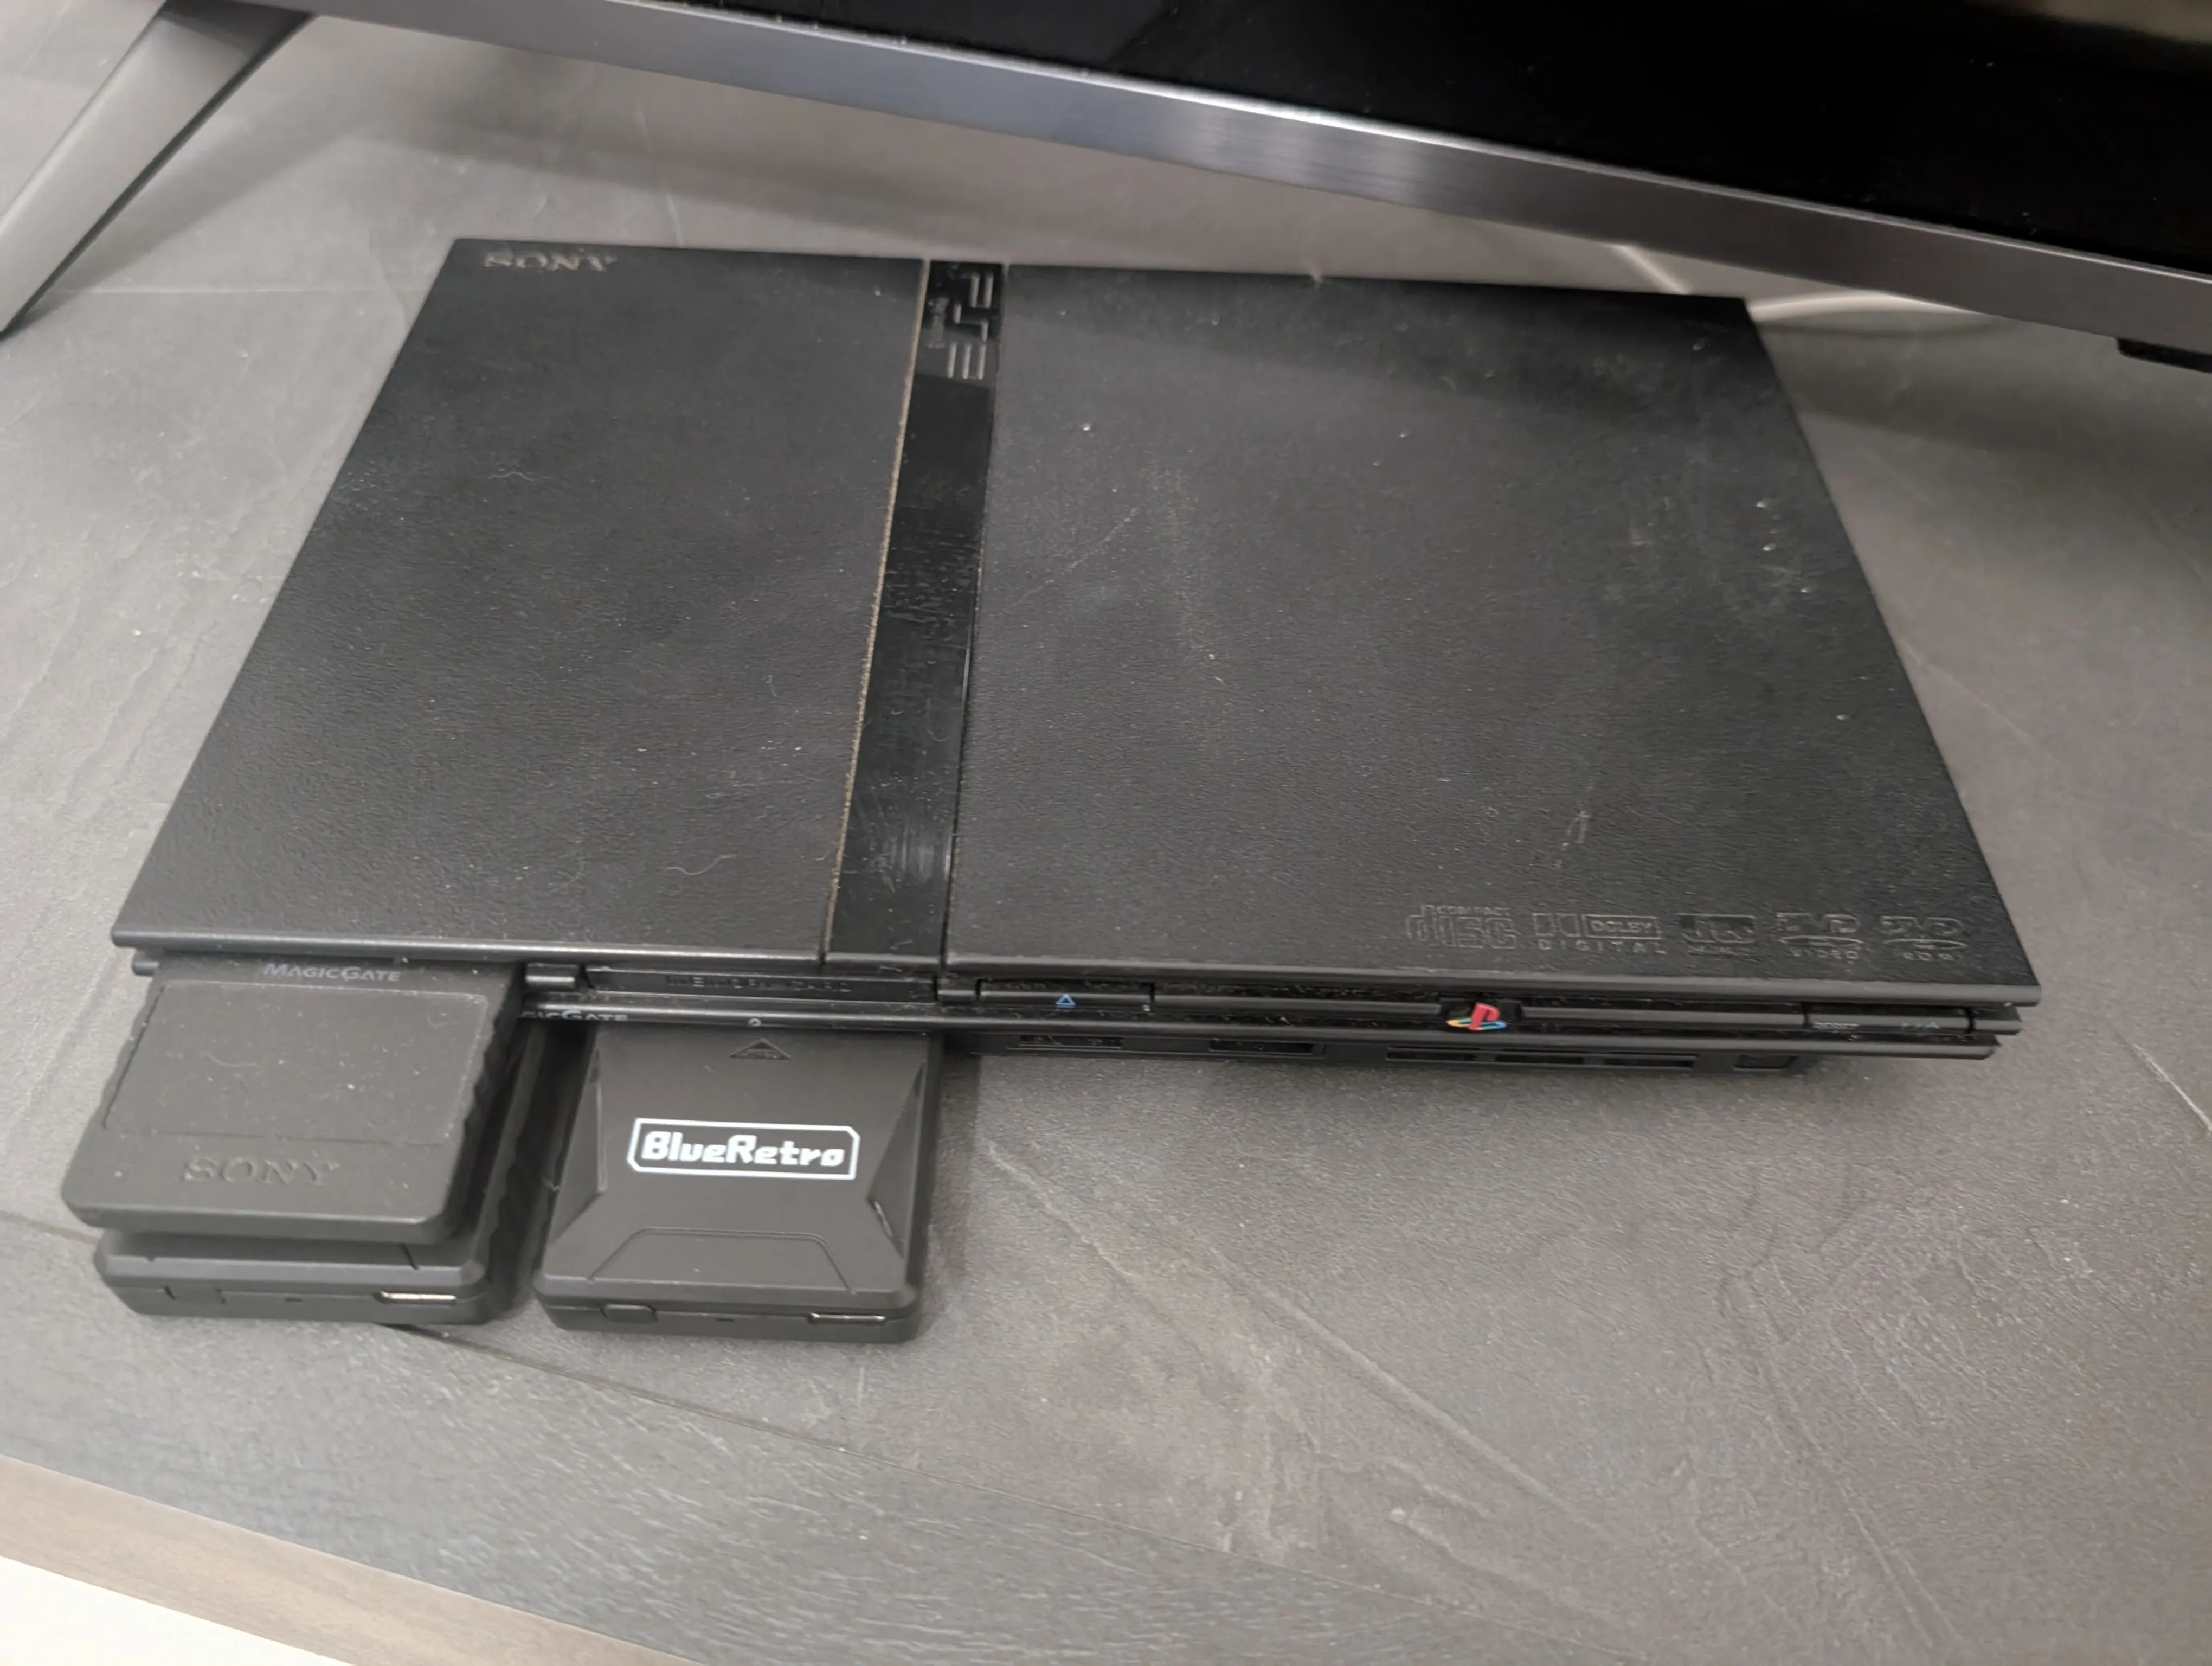
So, what was the order of things again? Oh, yes, the PS2 is sitting alone under the living room TV, and by that time I only looked at it, like, zero times - except the ones I had to clean the room, but I would move it out of the way and back where it was afterwards. So, I have it softmodded, I can now run games via OPL, right? Oh but there’s the DualShock that has the busted D-Pad, and I really really don’t want to stress it more, as it will probably be the last original DS2 I can ever have.
Sourcing a working DualShock 2
I began scouting second-hand websites for DualShock 2 controllers. The rule is that they have to be original, meaning they cannot be third-party (for that you can just buy the Retro Fighters Defender) and most importantly they cannot be cheap counterfeits.
There’s two reasons for that: the easy one is that I love seeing original hardware inside my living room as much as possible and I take pride in sourcing OEM parts; the second is that the (original) DualShock 2 controller has analog sensitivity in all of the face buttons (it can sense how hard you press the square button, for example); this feature is rarely used inside PS2 titles and you might have just never heard of it, but it is important if you want to correctly play two of the most iconic titles for the platform: Metal Gear Solid 2 and 3. This is the entire push to drive me out to search original controllers, or contraptions which totally support all of the controller features the PS2 supports in general.
The past statement is a foreshadowing: you see, you could get OEM controllers, but not singularly, or at least not in the area I live in. Here they’ll sell you an entire PS2, which I don’t need, with the controller in the bundle, and you can be almost certain that it will be the same, if not worse, than what I have here.
So, what do we do now?
Sourcing a working DualShock 3
The DualShock 3 is a gradual upgrade to the DualShock 2, and as such it adds stuff while removing basically nothing; it adds Bluetooth and a battery, and it also adds a gyroscope while it does away with the Analog button, and in its place is now the PlayStation button. Having that one and a Bluetooth adapter for the PS2 would be perfect, and even more modern of a solution compared to what I was thinking of earlier.
It seems that DualShock 3s are still being sold, though honestly there’s way more counterfeits: everywhere you go you’re basically advised to not buy a DualShock 3 ever as it 99% will be a fake one; so what do we do if there’s a 99% chance of getting a counterfeit that just looks like the original? We take a gamble, of course!
But first, let’s cover some things that may be useful to us:
- Counterfeit Dualshock 3s are made to specifically look like the real thing, and the only way to know of some being effectively counterfeit is to open them and check the insides, and that’s (obviously) something we cannot do beforehand;
- It’s therefore useless to check model numbers, labels and stickers;
- We probably can ask the seller to do something for us with the items they possess, however we cannot ask them to take the items apart to check for anything suspicious;
- The seller will probably know about their DualShock 3s being counterfeit ones, if they are, and that’s alone a reason to sell them and scam the next person in line.
So to act smart, let’s get one thing straight: most counterfeit controllers have missing features that we can use at our advantage to spot them early.
The difficult to check ones:
- Absence, or blatant faking, of the six axis gyroscope (and its reports to the console);
- Absence, or blatant faking, of the pressure sensitivity in the face buttons;
The very easy to check one: A real DualShock 3 would never charge off a phone charger.
So, what do we do now that we know this? We ask the seller to see if their DualShock 3 charges off a phone charger, while pretending to have broken USB ports on our PlayStation, “and that’s the only way I could charge the controller that I can think of!”
For the record, and if you are stuck into a situation similar of that of this reverse-scammy example but with real hardware, you can still charge a DualShock 3 by plugging it into anything that would initiate a USB handshake with it: your PC, your smart TV, your tablet, etc.
Now, how did it go? I went on the hunt, looked at a pair of DS3s, sent a comprehensive message to the seller and, some time after, I was replied to with “nope, they won’t charge off a phone charger, they’re the real deal”, so:
- The seller knew about this stuff;
- The seller knew their stuff too.
At this point it was either take it or leave it, the odds of them being real were 50-50 to them being fake and the seller being an outright scammer; I sweat a bit, then I remember that there’s not much time I can afford to lose on this project, as September and co. will be very hard months for me personally, so I take the bait.
Some days after, they’re in the mail. I spin up RPCS3 with the gamepad tester homebrew that will punish me hard for buying counterfeits eventually. I plug the first one, and RPCS3 does indeed recognize it as a PS3 controller; I think that’s a good sign, and therefore I spin up the homebrew, which tells me that… wow, this thing passes all tests and all available information is correctly reported! I repeat the test with the other one and it’s the exact same story. They were REAL Dualshock 3s!
Unable to contain my excitement, I try to see if the battery holds up and… well, my PC reported those two controllers having 100% battery, but as soon as I unplugged those, they would never get a chance of powering up. I think those controllers do have a fault, and it’s in the battery management system, which is something I can eventually figure out later because batteries might just as well be swapped with new ones. I decide to take another gamble and I leave one of the two controllers plugged into my computer to charge up, and luckily that works and the controller now powers up even when unplugged - still, while reporting 100% battery to my computer, so something’s not right here, maybe? The next day I do the same to the other one, and sure enough, it is the same story.
Now, as to how to plug those two controllers to the PS2…
Finding a Bluetooth adapter that won’t put all this work to shame
If you’ve owned a PlayStation 2 specifically then you’re no stranger to wireless gamepads being already a thing, especially in the counterfeit market. This eventually expanded into Bluetooth adapters with firmware on them that let them pair with other controllers, official or third-party, to then use with the PS2. One such adapter is, of course, the 8BitDo Retro Receiver for PS which is probably the most known in recent times, and one I’ve personally wanted for this project, but it turns out it cannot be used with the DualShock 3 (despite 8BitDo offering a pairing program for the adapters they sell) and it is very, very expensive.
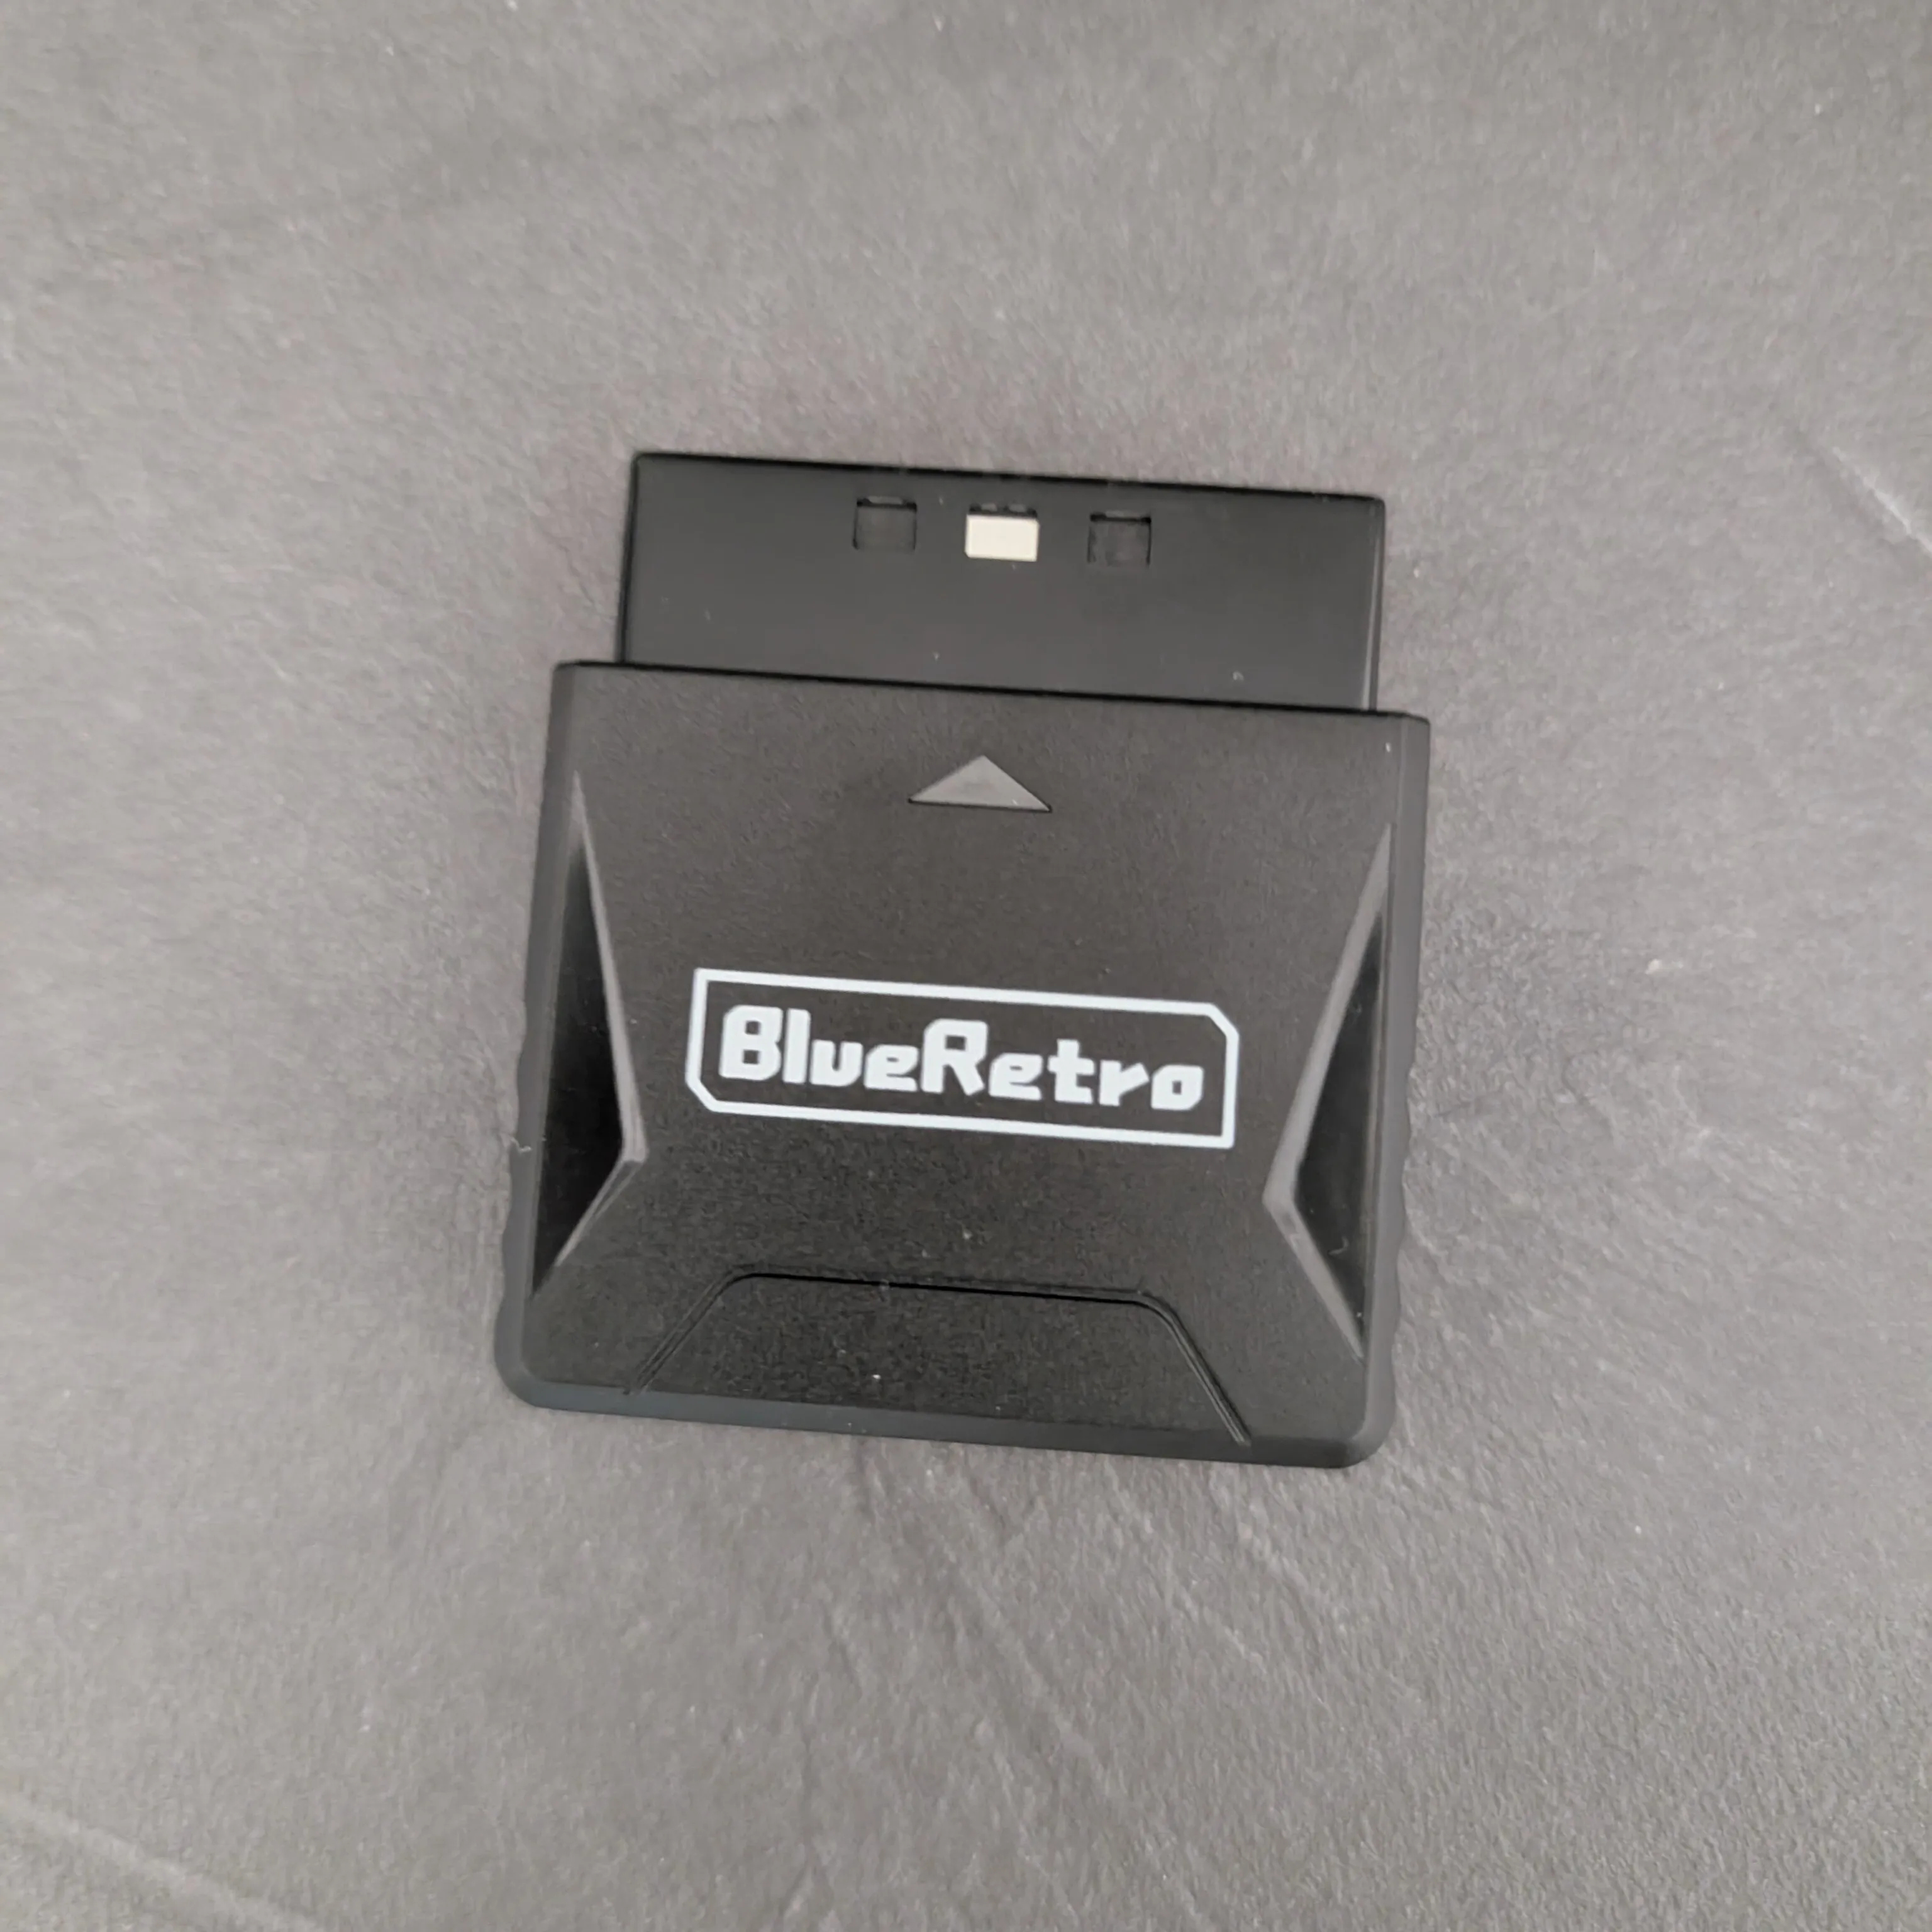
Luckily, you can still turn to the good old Chinese marketplaces, like AliExpress, to find just what you’re looking for, and I was looking for something in particular: an adapter which either used or could be flashed to use a firmware called BlueRetro, as it is free software, it is updated pretty often, and (most importantly) it supports pressure buttons on the DualShock 3; but it will only pair with a real DualShock 3.
For the ones interested, this is the one I bought, twice: RetroScaler Mini Blueretro Wireless Game Controller Adapter for PS1/PS2

Pairing the controllers to the adapters
When the adapters arrived, I forgot that the DualShock 3s have to be “paired” via USB to the MAC address of the Bluetooth adapter, and even if there’s a USB-C port on the adapter, it won’t use that port to initiate an USB handshake and push its own MAC address to the controller; that would’ve been too easy, wouldn’t it? Instead, we are supposed to use tools such as SixaxisPairTool on Windows; but I am on Linux, so I had to scout for a similar tool myself.
Enter sixaxispairer. This is a CLI tool that works under Linux and it does the thing we’re asking for; if you need another one because you’re a Rust shill, I also found rs-sixaxispairer which does the exact same thing but it’s memory safe, they say.
When compiling sixaxispairer I was greeted with a compile error that was easily solvable by just
adding one import to the code, which I won’t even explain here because it’s really ridiculous, GCC
literally tells you what to do inside the error in case you encounter it too; but if you want to
live happy without C shenanigans then probably it’s better to cargo build --release the Rust tool
and use that one instead.
So okay, we got the tool, so how do we get the adapter’s MAC address? Do we have a way? Turns out, yes, we do have plenty of ways. The first one is just by scanning for the adapter while it is in pairing mode, and then noting down its MAC address from the computer; the second is just plugging it into the computer with the USB cable they give you in the box and then visiting the blueretro.io website with a Chromium based browser to use one of their web tools (which would also give us the adapter’s MAC address in the process.)
With the tool, the MAC address, and our DualShock 3s lined up, we’re ready to pair them. I opened up the terminal emulator on my machine, went to where I built the tool, and typed:
$ ./sixaxispairer XX:XX:XX:XX:XX:XXOf course the X’s are because I didn’t want to give you my adapters’ MAC addresses, but you get the idea, right?
This tool, if successful, exits without telling you a thing. So if you hit enter and you’re immediately back into the shell, then it worked.
Updating the adapters’ firmware
Turns out, while I was doing this I could’ve just as easily updated the firmware inside my adapters, just to be on par with what’s inside the official repository. If you think you only have to use the firmware issued by the specific manufacturer of your own adapter, then you might be right, so double check compatibility before flashing; but RetroScaler’s adapters are pretty much vanilla stuff, and you can flash the official BlueRetro firmware releases, which is good.
The whole operation was carried out by me connecting to the adapters via the Bluetooth Web API just because I was lazy, so I was using Chromium Browser and the official BlueRetro website for that. It worked, so I don’t see why I shouldn’t recommend it. Do it like this, it’s easy!
One last nitpick on the controllers
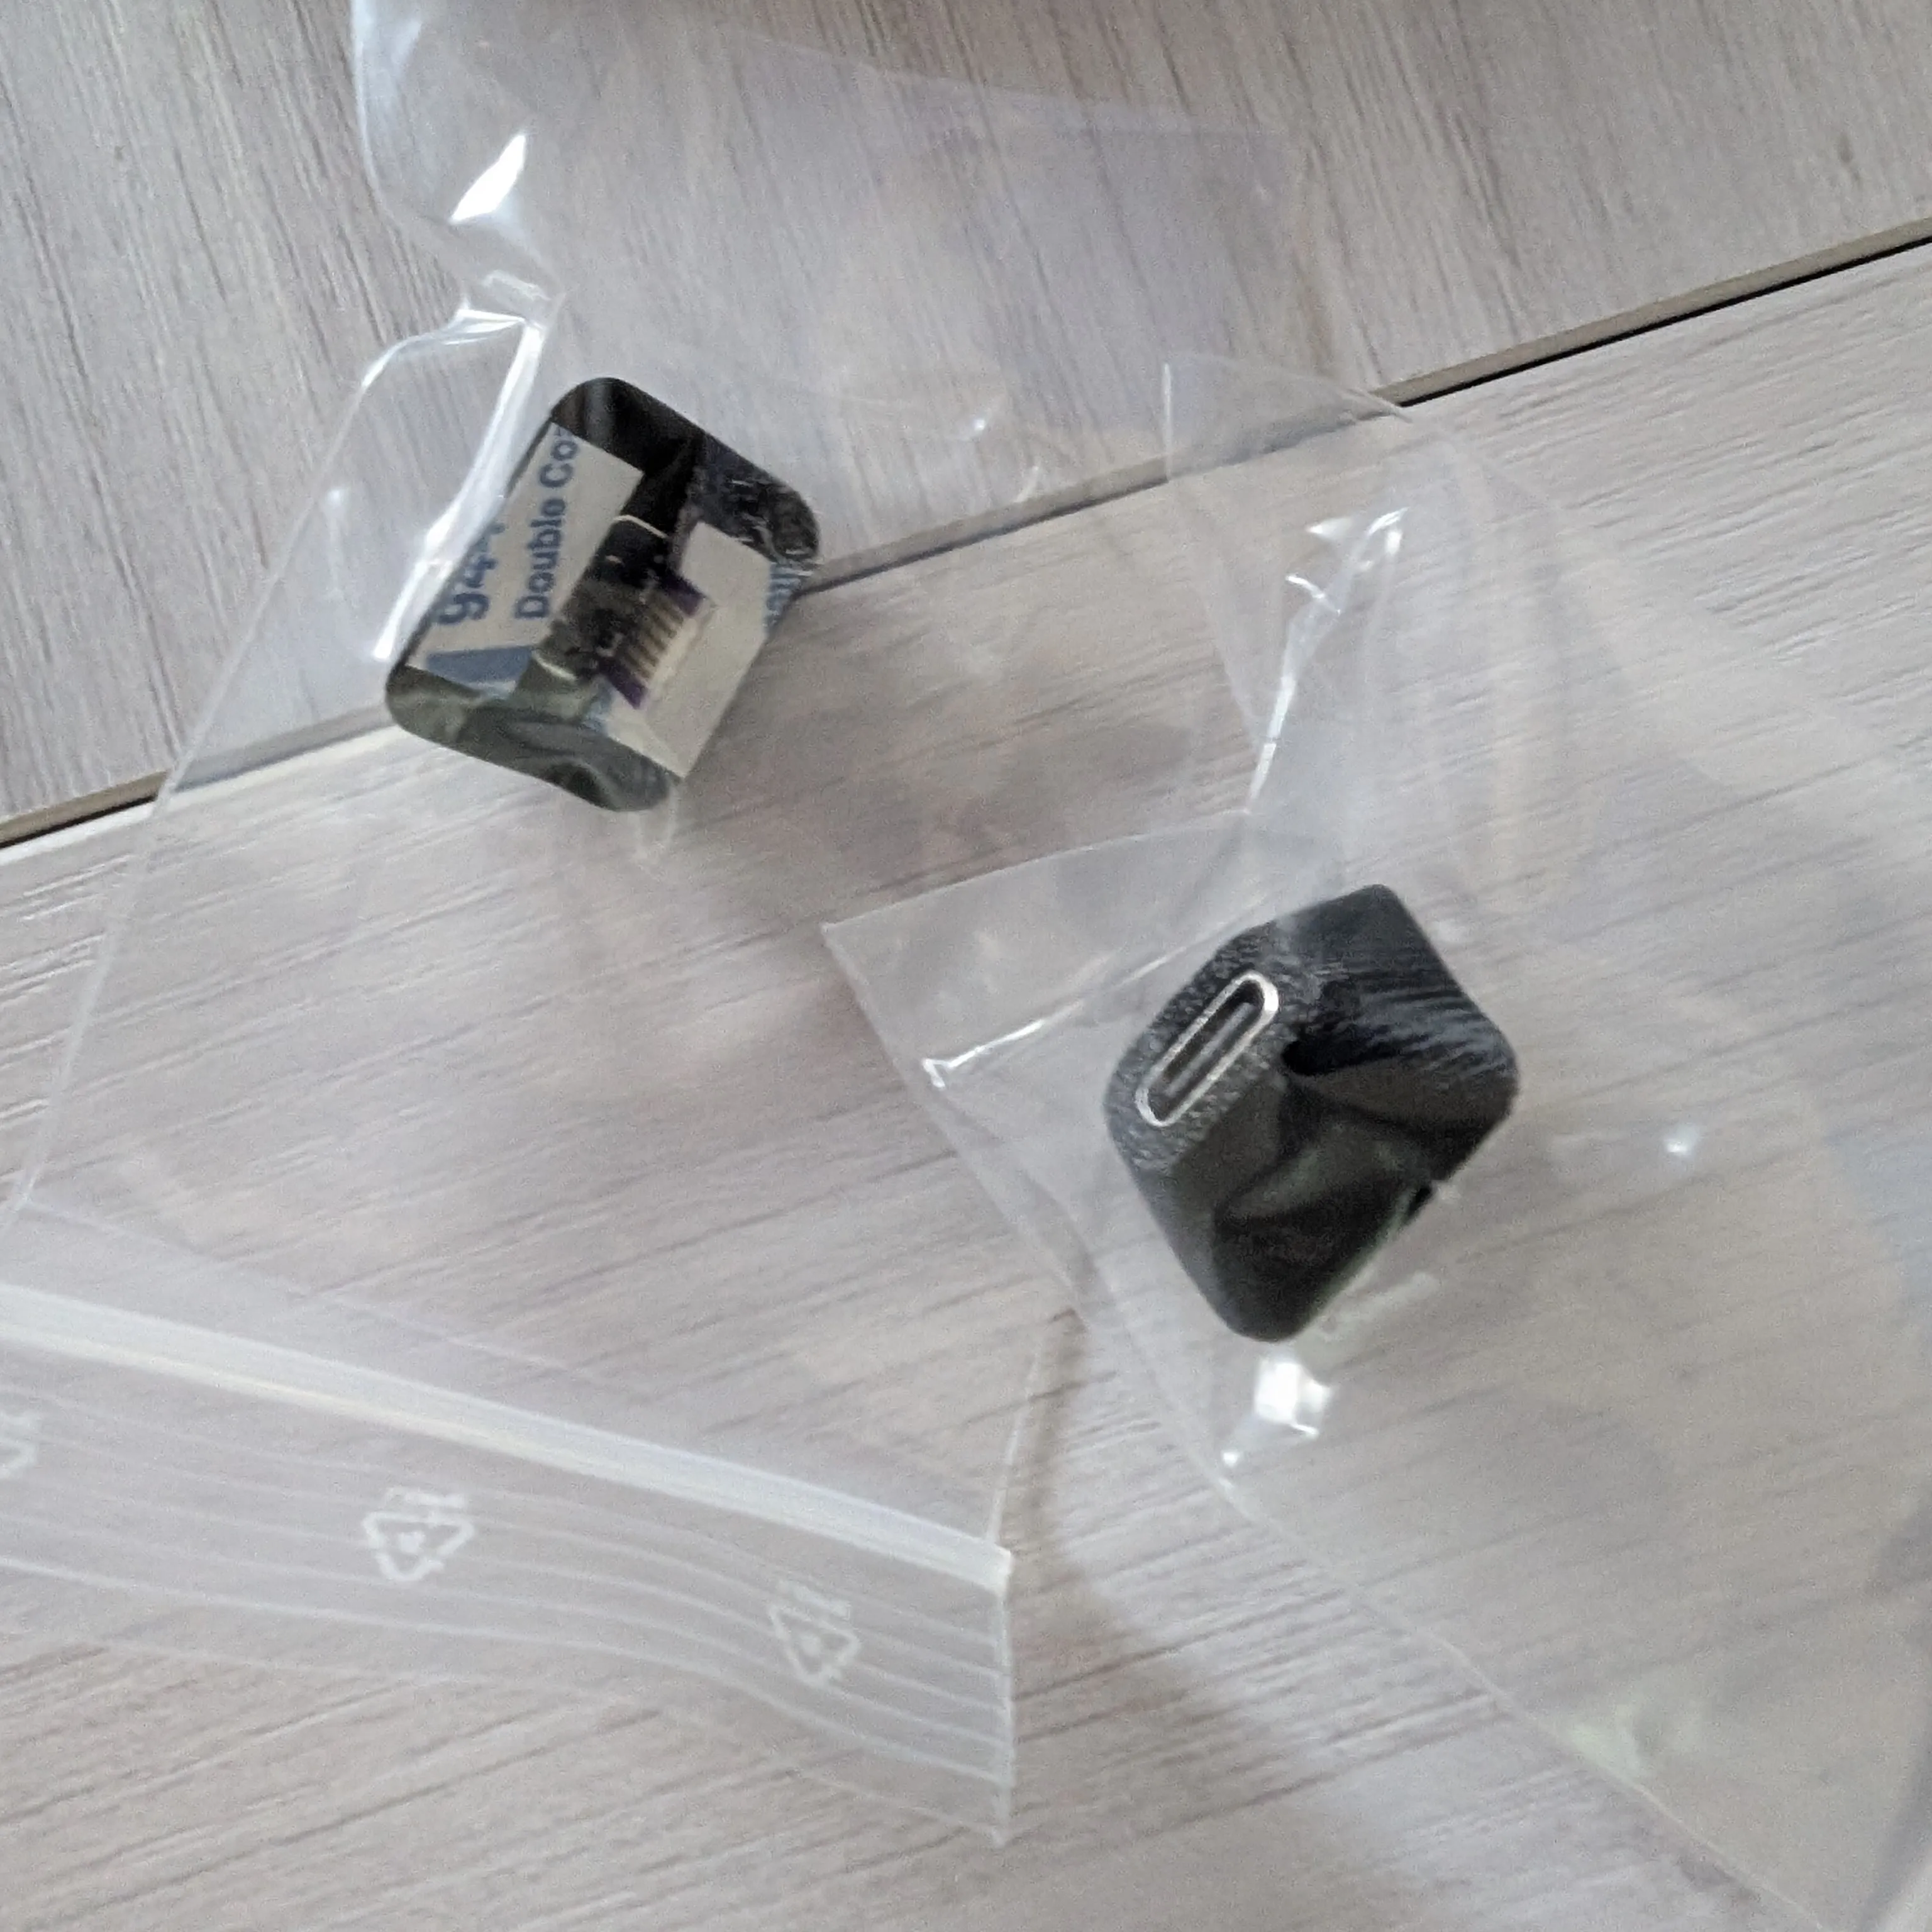
At this point, the controllers were working with the PS2, but I couldn’t stand one thing: they use Mini USB for charging, and I only have one Mini USB cable in the entire house! This cannot be, and so I ordered some other USB-C adapters made on purpose just for the controllers. I know it’s easier for most people to order a USB-C port and solder it where it belongs, but I didn’t want to mess with the insides of the controllers just yet, so an external adapter that glues on top of the real port is the way I will go.
Turning on my PS2 again, and resuming from where I left off
At this point I was basically running blind, because I never even tested the PS2 after all this time. I knew it worked, and I knew I softmodded it, but I didn’t know how it worked and if I had to watch out for complications down the line. Turns out, complications did arise.
Remember when I installed FreeMCBoot because I assumed that my PS2 wasn’t tampered with? Turns out I Was Wrong! Right when the PS2 starts, a familiar logo appears for a split second: Modbo Chip. This PS2 is modchipped and so it can run pirated software off the DVD reader! How did I not notice it? Because the previous TV was so slow at picking up the signal, it was already at the PS2 start animation when it decided to show me something.
Now, you’re probably wondering “Nao, why is it problematic that you installed a softmod on a hardmodded PS2? Aren’t they complementary in a way?” And to that I respond “yes, if you’re not an idiot like me.”
Turns out that the FMCB version I have is the very last one, and the very last one is very modchip-incompatible. FMCB would start, but everything it tries to start ends in a black screen. This is bad in the sense that I have to disable the modchip at every system boot (and you do so by keeping the Start button pressed on your controller plugged in on the first slot while powering on the system, then waiting for it to say disabled, then hitting the reset button on the console) or otherwise FMCB becomes a paperweight.
Other than that, FMCB would correctly launch every homebrew, OPL included, and OPL would launch my PS2 games flawlessly.
So what I did next was figuring out how to at least make the thing less painful: the Modbo Chip has a configuration menu that spawns up on console boot if you hold the Triangle and Circle buttons together; there are some options, including one to boot directly into DEV1, and that is basically whatever is inside the memory card in the first slot and called BOOT/BOOT.ELF. I might double-check this, but in most FMCB installations you’ll find LaunchELF there.
Booting LaunchELF directly has one advantage: it doesn’t have to be launched from FMCB, which only operates if the modchip is disabled, and LaunchELF launched from the modchip can launch other stuff itself, so OPL can flawlessly start. And what else can you do with LaunchELF? You can make a shortcut so that the Cross button launches OPL directly!
So the setup is this: Bootup -> Modbo launches DEV1 which is LaunchELF -> I press Cross on the pad -> OPL launches -> I select the game -> Profit!
Sure, at this point I could nuke FMCB but I deliberately chose to keep it for now. You never know.
Building an initial game library
So, once OPL is set up you might get stuck into figuring out what is the best way to play games on the system; this is particularly true when you see that the USB read speed of the PS2 is basically nothing, and that every other option is complex at best.
For me personally I’ve chosen to put my PS2 on my LAN via a network cable. This lets me share a folder containing the games I want to play, and it only takes a laptop plugged in a socket to have all of this running. Heck, the laptop can serve the files over Wi-Fi and it would still be faster than USB on the PS2, so that’s a very easy choice to make when you’ve got computers all lying around.
With 100 GB of legally obtained game copies, I built out my PS2 OPL folder, and I shared it via Samba on Linux. They said that doing so on a Windows computer was easier, but I found this to be obscenely easy as is, if not for the fact that OPL uses SMBv1 which requires some special configuration in this day and age. We know SMBv1 is insanely insecure, even if you’re serving files from a Linux box or laptop, so please take caution if you choose this path.
OPL was also easy to set up, mostly because you don’t need to set up a static IP address with it, and it can eventually discover SMB hosts via NetBIOS if you don’t have a static IP on your file server; I did have my laptop on a static IP, however, so to speed things up and not further complicate my journey, I plopped that one into the network settings of OPL, saved them, restarted OPL for good measure, and… the games were showing up and they were loading fine too!
Topping it all with an HDMI adapter
Now what do I do to make this all even easier to use in 2025? I’ve touched in controller choice, controller adapter choice and game loading. Why not an HDMI adapter then?
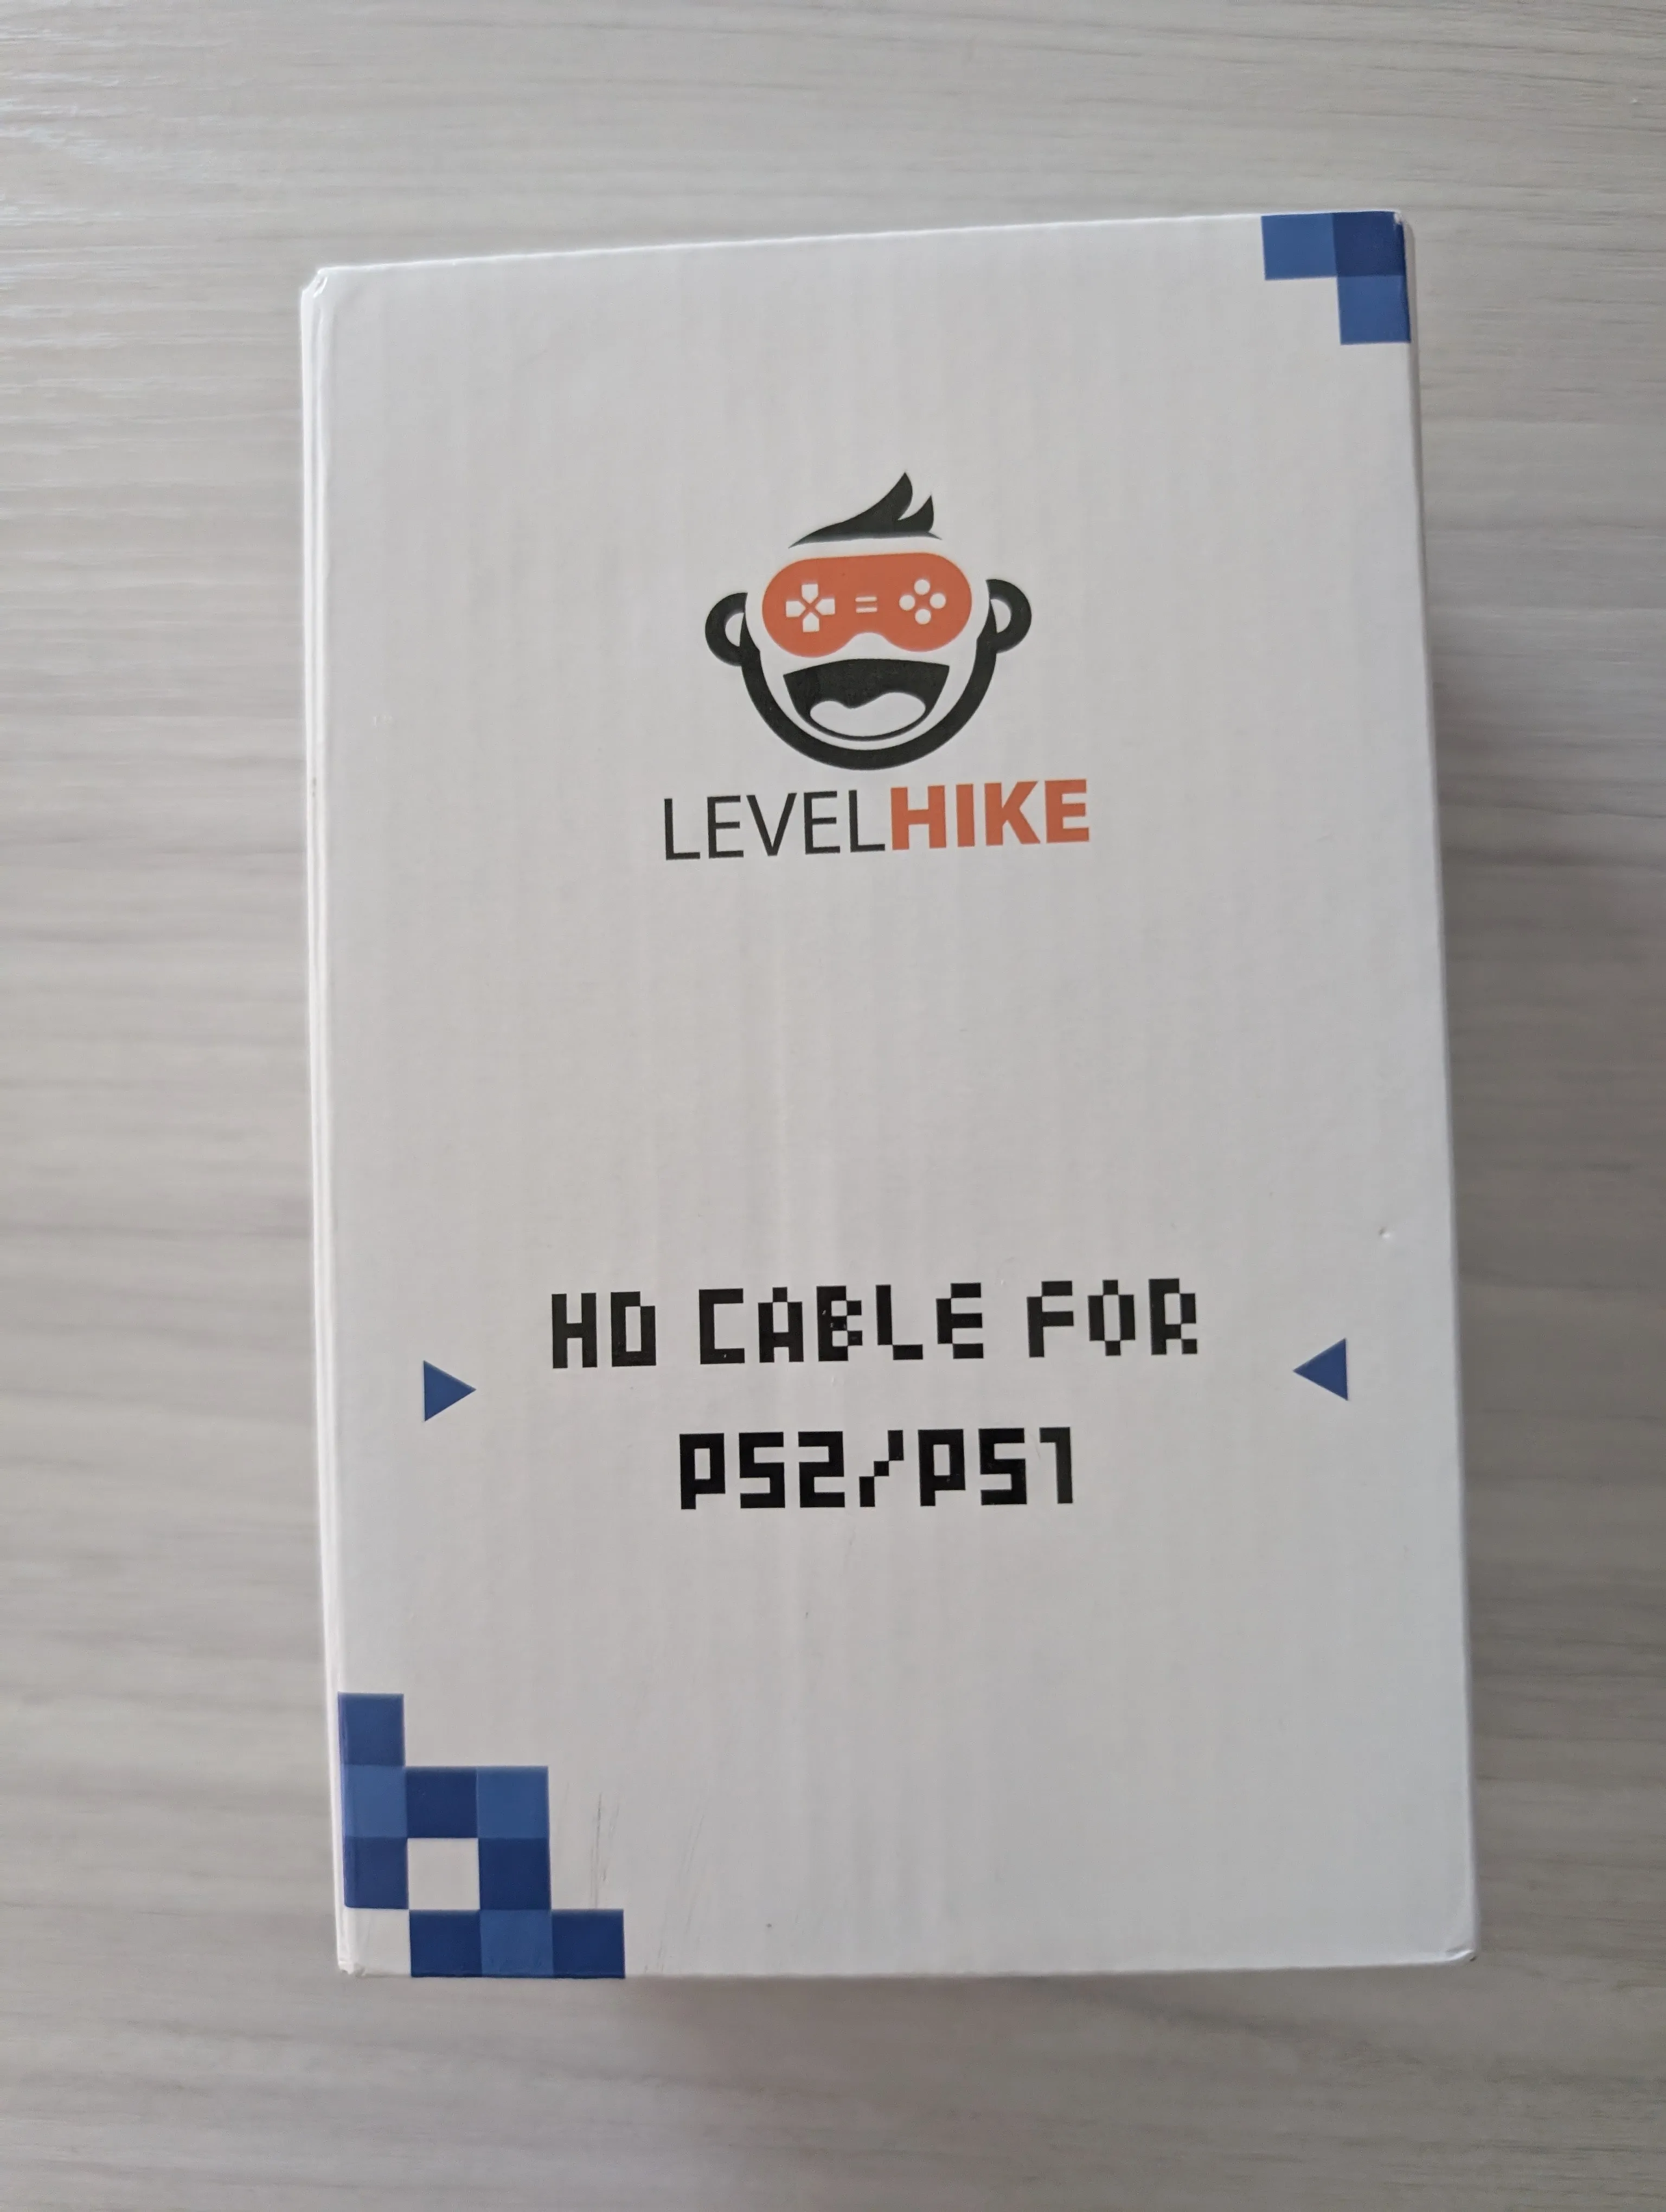
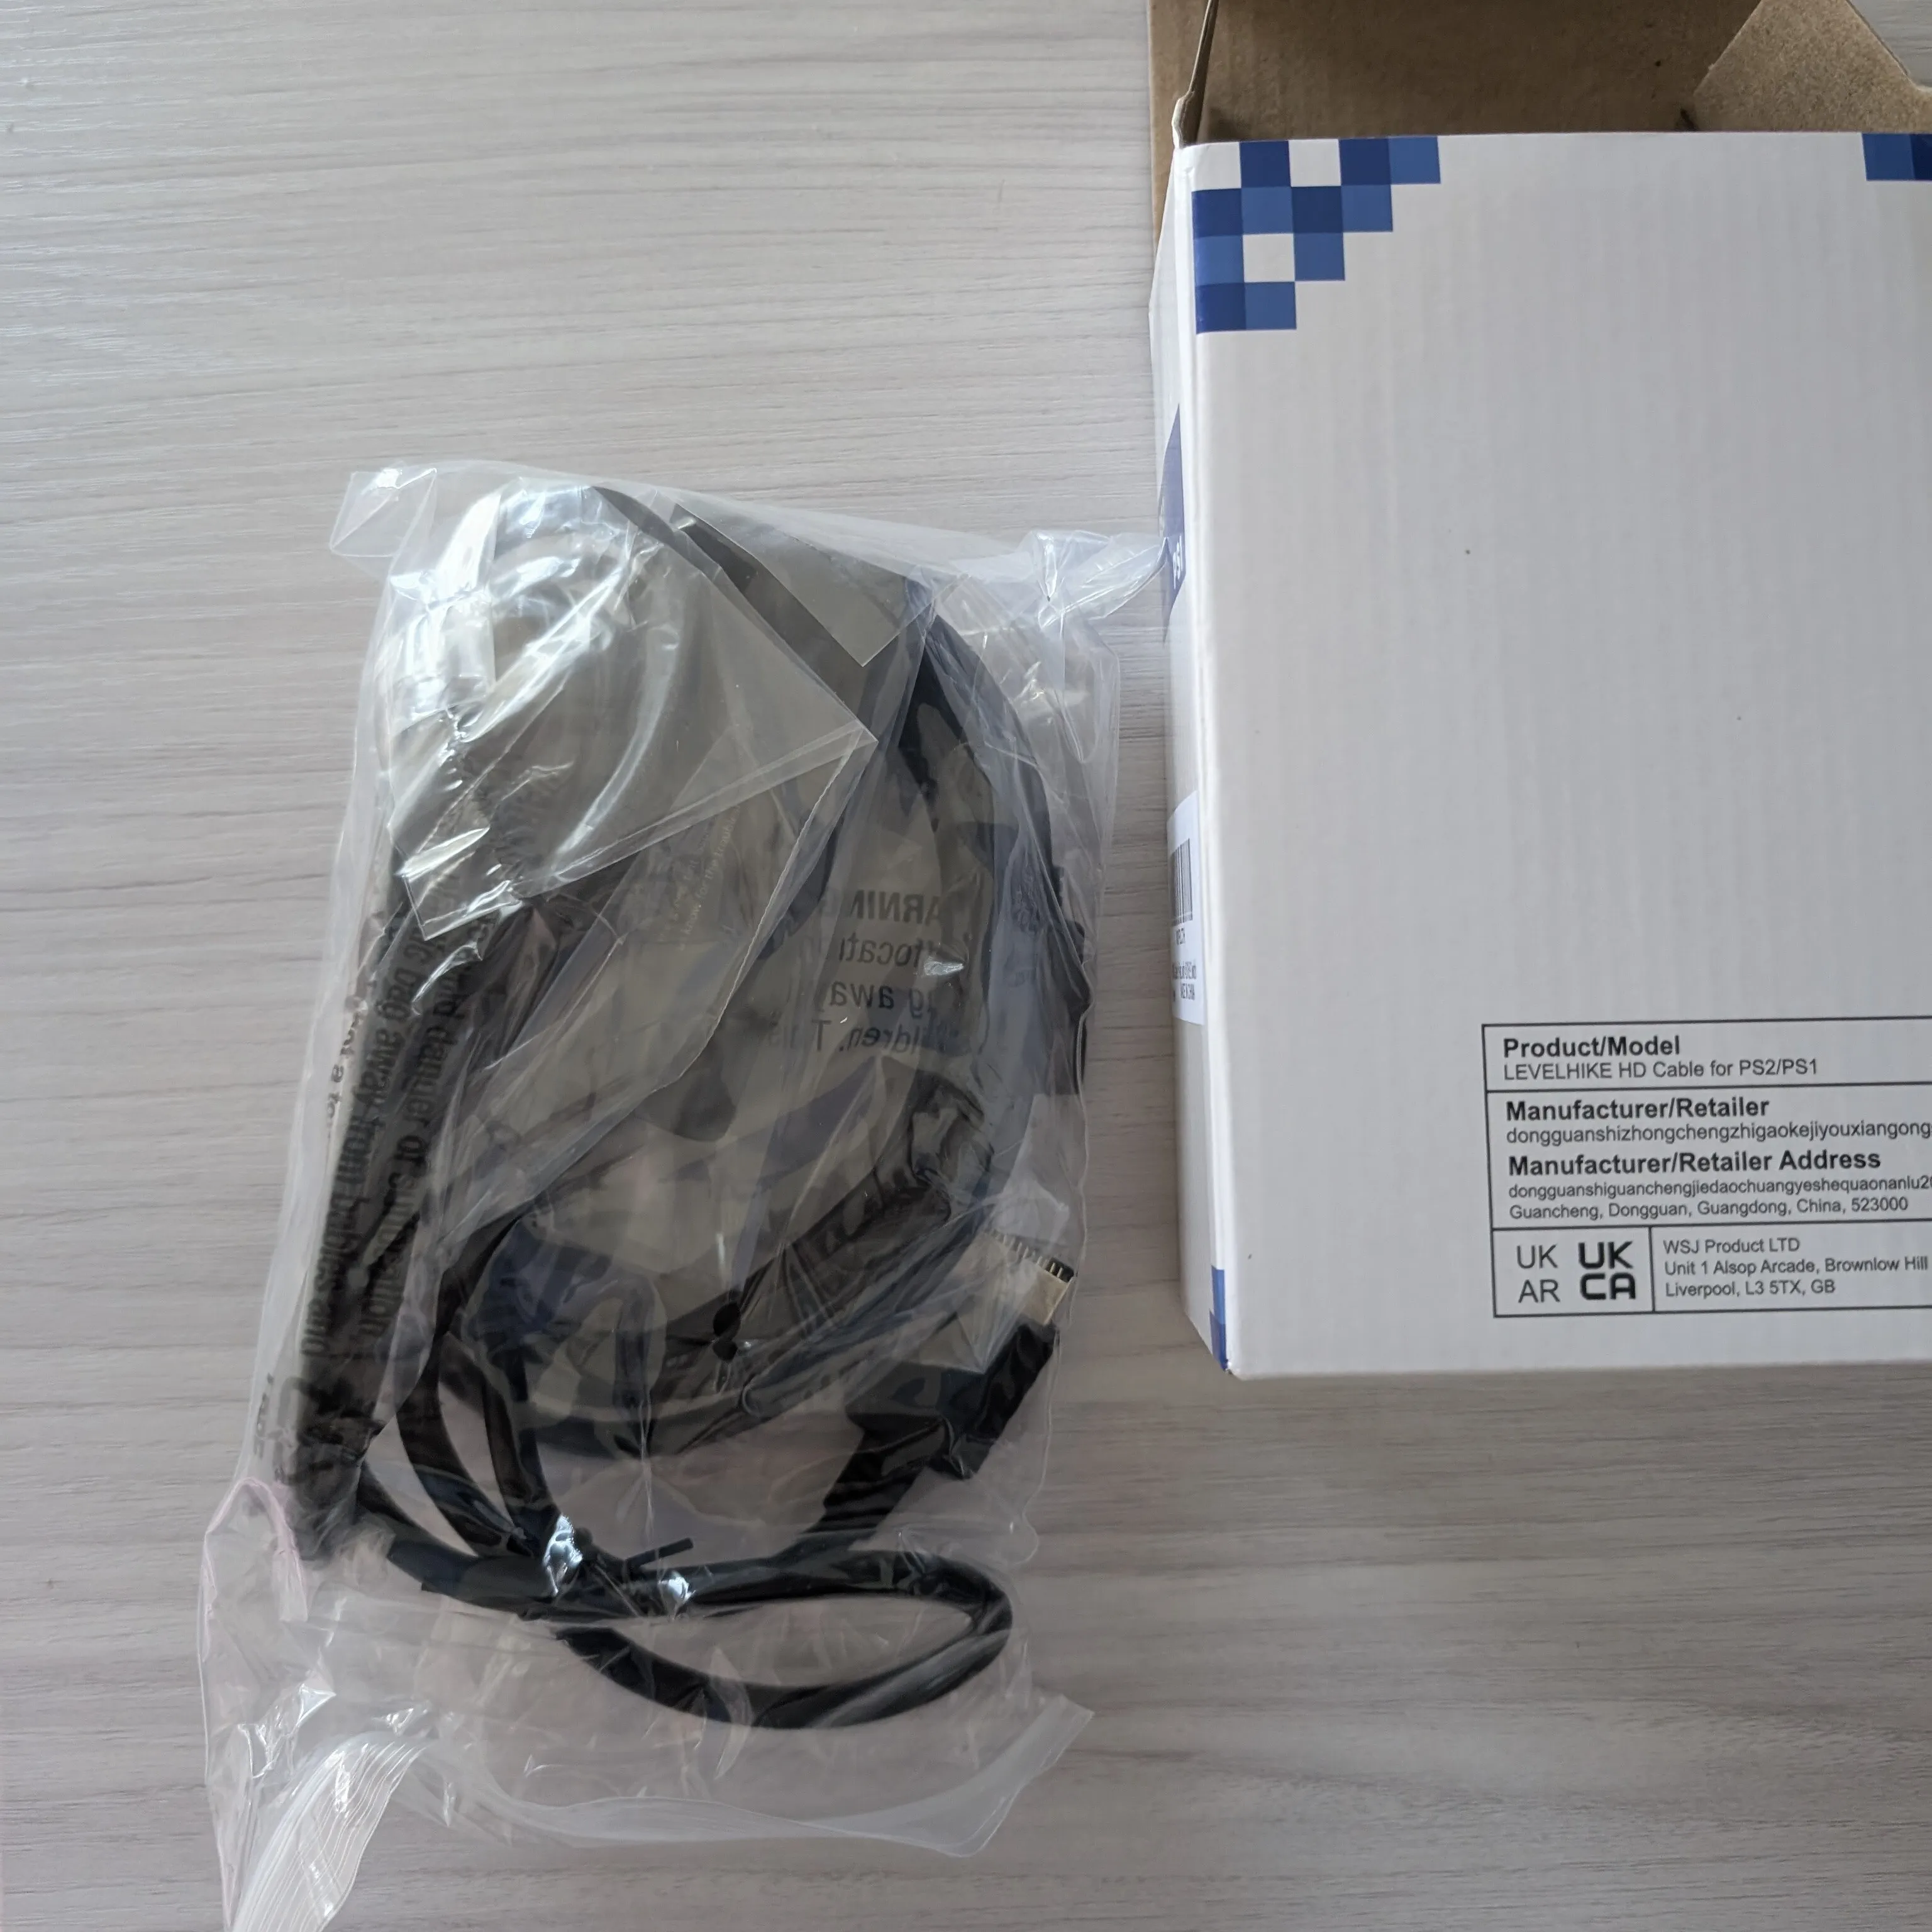
I scouted the Amazon listings for a bit, then I grew tired, then I watched some YouTubers who would make gameplay videos on PS2 and I noticed that a bunch of them would use a cheap adapter anyway. To me the gameplay looked okay, so I settled with whatever was first on the Amazon listings without giving it much thought: I brought home the LevelHike PS2 HDMI adapter.
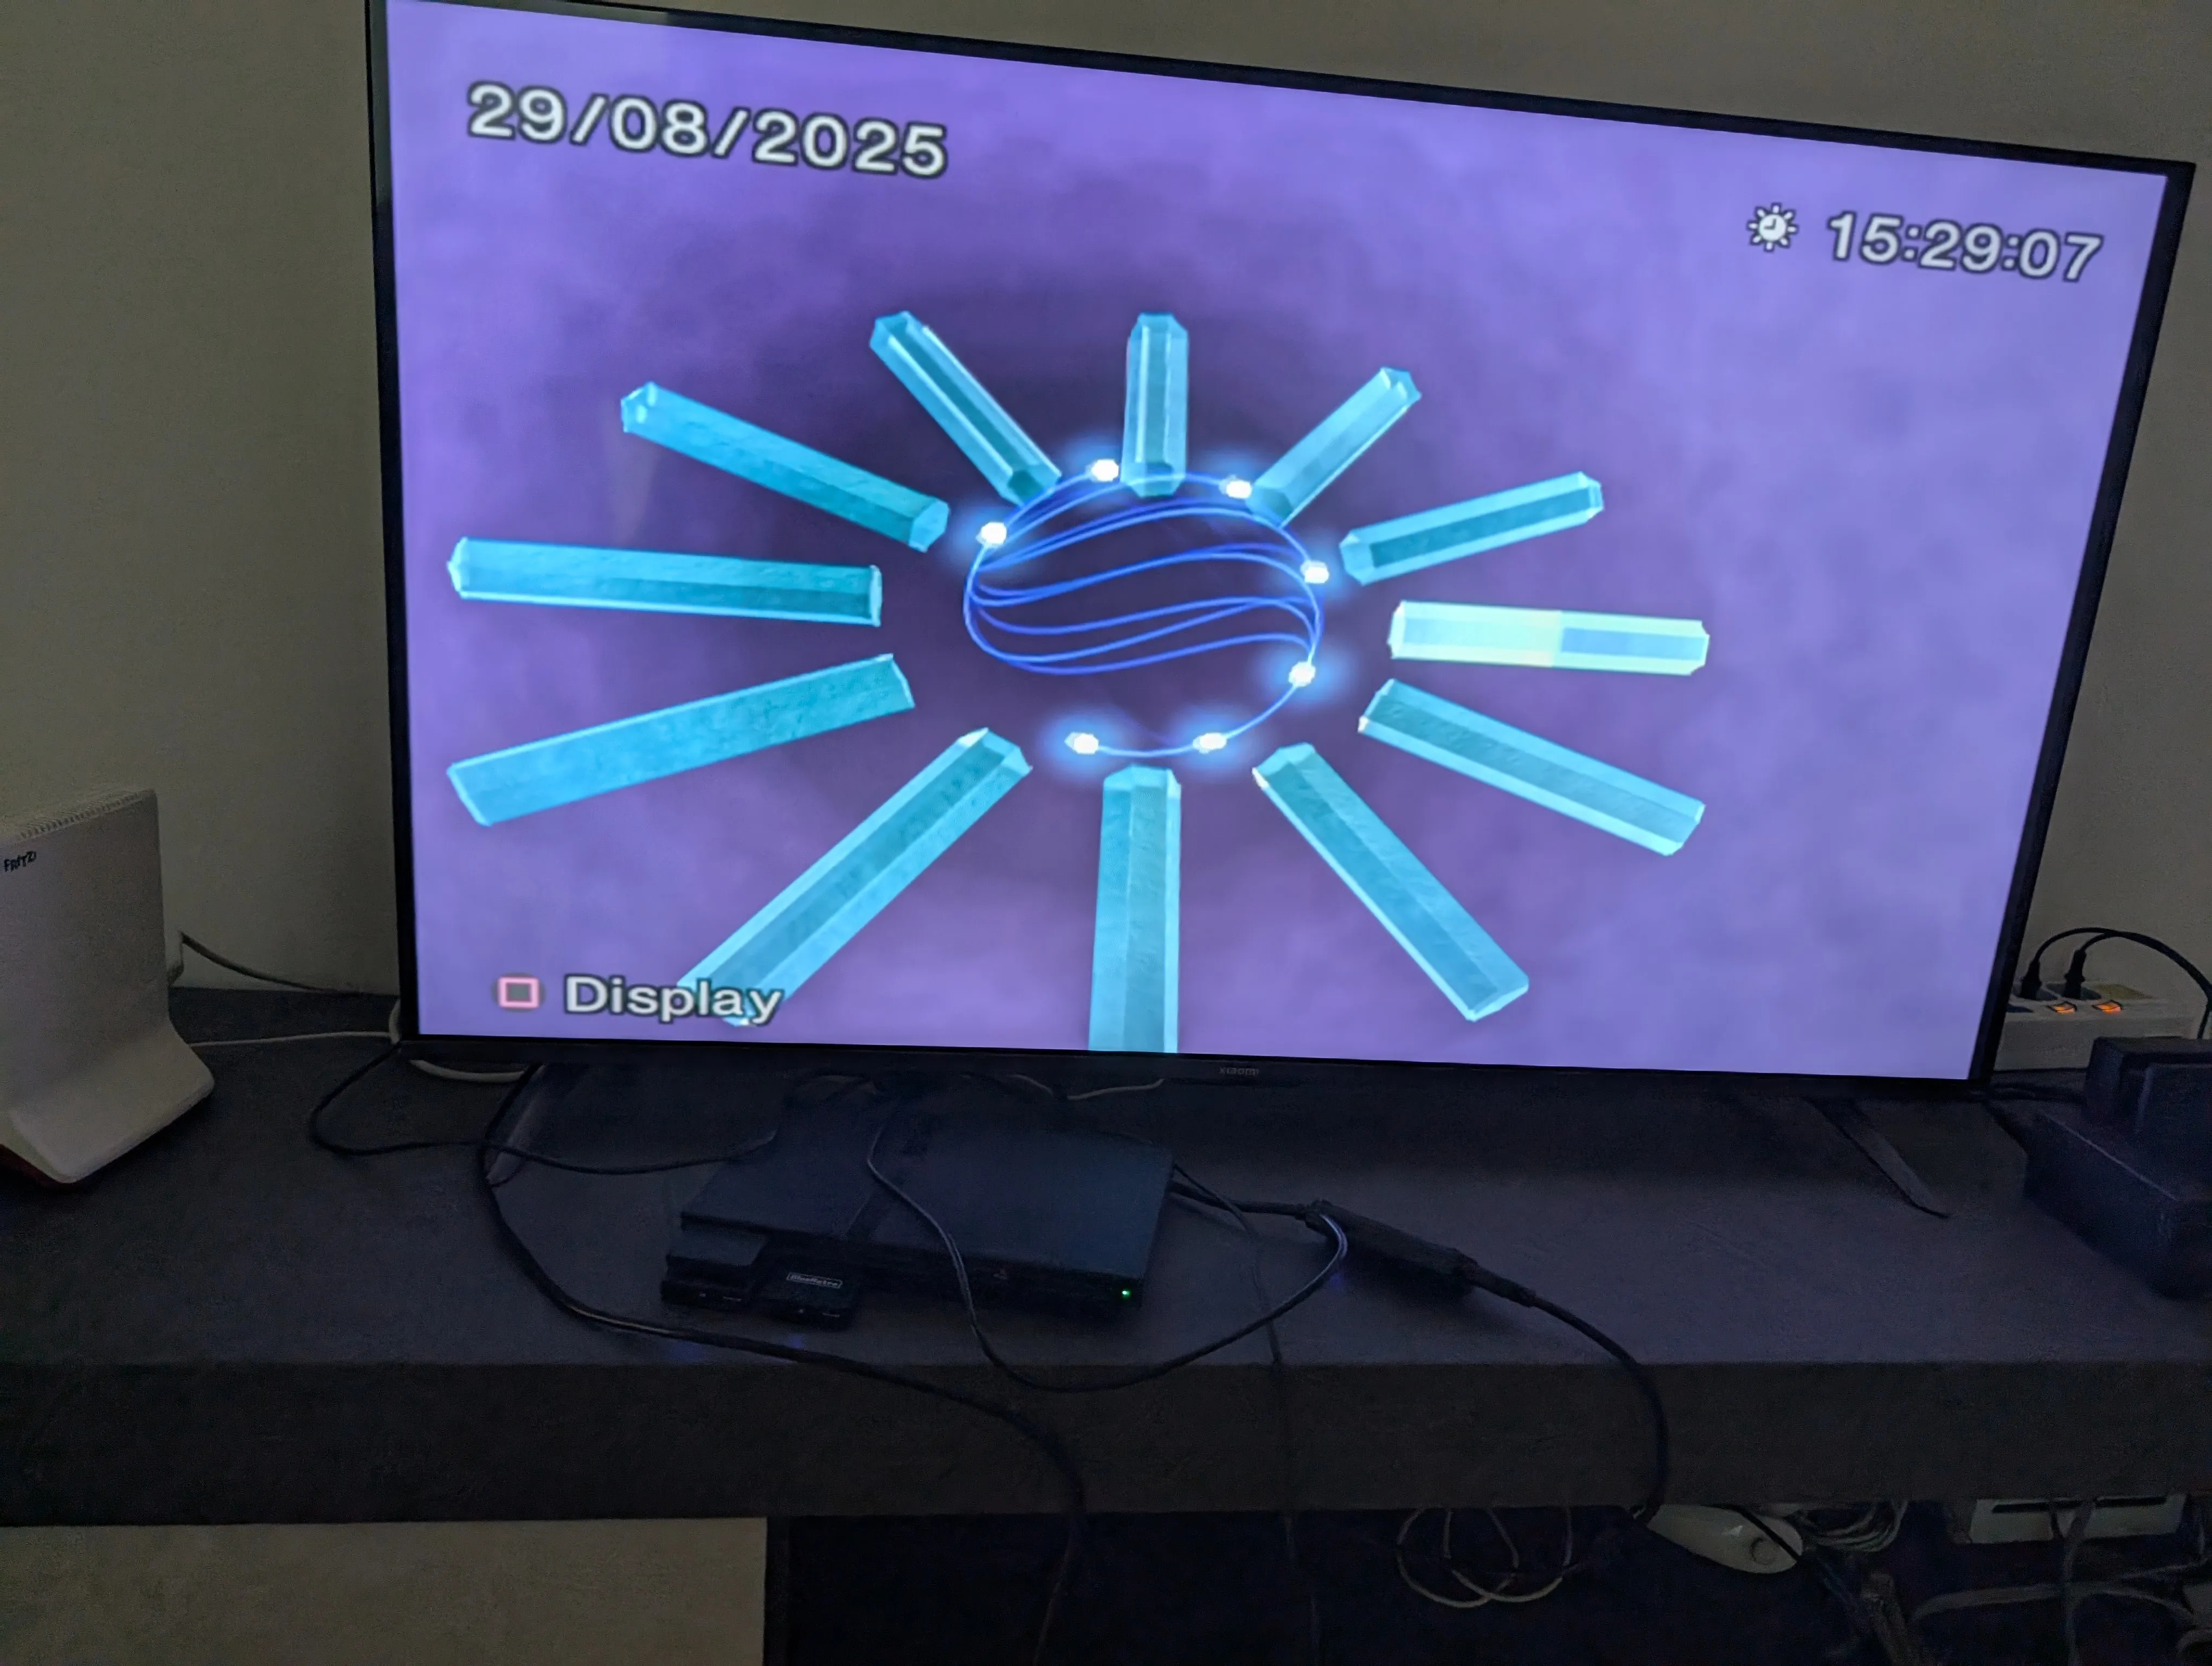
From my own testing, at least it converts the RGB signal, not the composite signal, to HDMI, so the colors are darker but, supposedly, they are more accurate, and in terms of latency we’re basically on par with the composite input of my TV anyway, so not much loss in that regard.
Would I love to have less latency? Would I love to have a better picture quality off some official SCART or component cables? Yes, I would love it, but I am too poor to afford a scaler anyway, and when I’ll afford one, I want it to be able to upscale everything in the world and then some.
Conclusion
This PlayStation-riddled adventure probably has gone too long, so much so that actually I am already looking forward to finish this blogpost and go play some games. I’ve waited an entire year to get this to work, and while I know some things are definitely still iffy, well, hey, we’ll get there with time, okay?
Some things I would change: I would love to have my old Orange Pi PC+ to serve the files to the PS2: less power draw and it could be plugged directly to the console via just a network cable, to maximize usage of that 100 Mbit/s link they both can do. On the other hand, I do want to serve my ISOs from an USB external drive, which I can then unplug and sideload more games on if I do want that to happen.
Some things I didn’t cover because they’re already wery well explained: how to set up OPL. Thing is, I don’t even know how I’ll end up with it, all things considered, and the PS2 scene doesn’t know how to sleep, so something that goes well one day will be out of date the other.
I hope, though, that this reading was of your liking, and let’s read from each other in the next blog post!